Program
A shop, not a class.
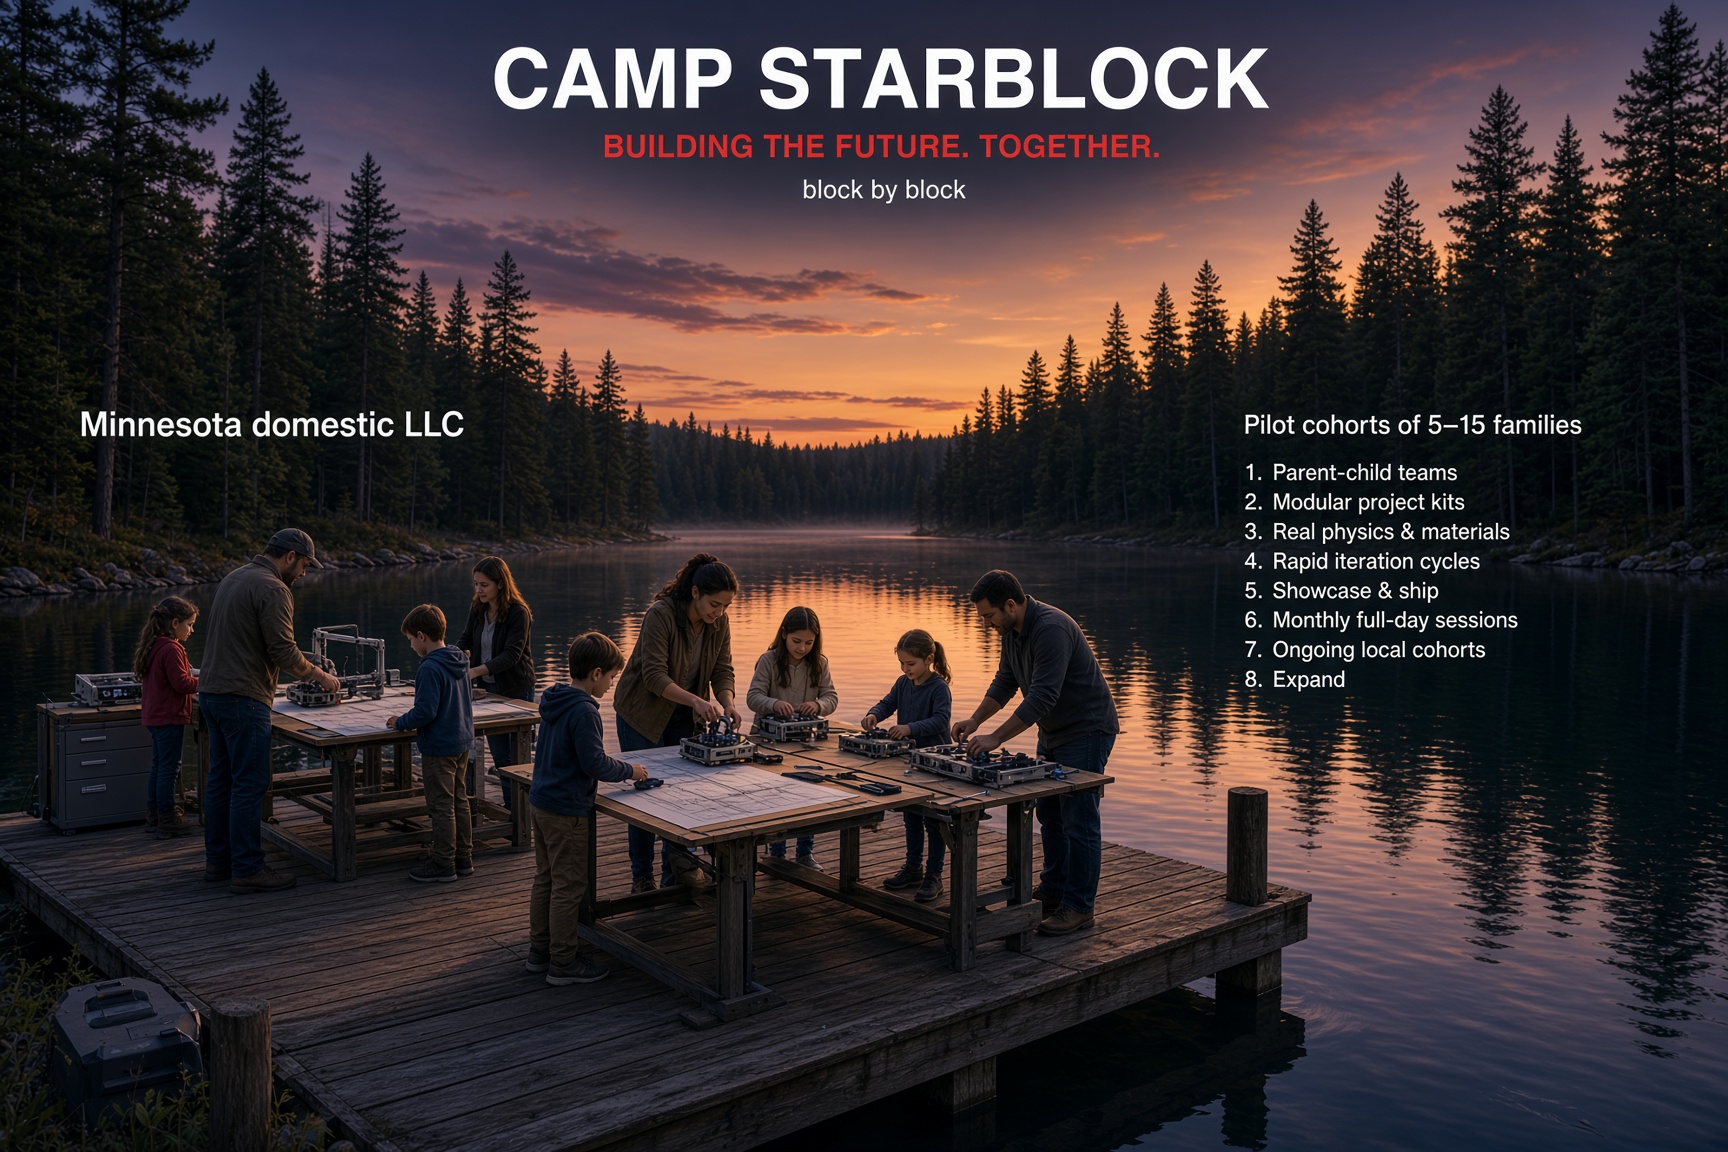
Camp Starblock runs as a family cohort. You arrive with a designed part from Tinkercad. We build, test, and iterate together. Message @Stina_Lotus — no camp email.
What a session looks like
Arrival / share
Open the Tinkercad share link. Screenshot if you have one. We look at what you made, not a demo file.
Build the first piece
Cut and assemble the connector from the kit stock. Talk through why 6 mm is the hole we standardized on. Start a second piece while the first one is in your hands.
Fit check
Rod into hole. Tight, sloppy, or locked. Measure. Decide one change — hole size, chamfer, or second axis — and make v2.
Lattice hour
Connectors plus struts plus a family plate. The object that goes home is one you can name.
The four moves
01
Design
The first kit piece is designed at home in Tinkercad. Parent and child as co-pilots from day zero.
02
Make
At camp we cut, fit, and assemble. Real geometry. Real parts. No entertainment screens.
03
Test
Does the hole fit the rod? Does the lattice stand? The part either works or it does not.
04
Iterate
Change one dimension. Rebuild. Compare v1 and v2. That is the loop we protect.
Block by block
01
Design
CAD first. Tinkercad. Millimeters.
02
Make
Cut and assemble. Hands on the part.
03
Test
Rod in hole. Tight, sloppy, or locked.
04
Iterate
Change one number. Build v2.
05
Scale
Connectors become a lattice.
06
Launch
A named part goes home.
07
Learn
Notes on what bound and what fit.
08
Repeat
Next session starts from v2.
What we do not do
- Drop-off. A parent or guardian stays in the shop.
- Kits that only assemble one way.
- Adults finishing the hard parts so the photo looks clean.
- Claiming affiliation with any aerospace or auto company.